| Tips on how to use HandyMark when installing drywall or paneling:
|
 |
1 |
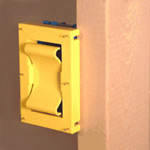
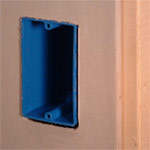
Place HandyMark on an outlet/switch box with marking pins facing you.
***Fits most standard plastic outlet boxes. HandyMark will also accommodate 'already wired' receptacles with a simple modification: With a sharp blade score the two connection points to the inner spring,
then using your thumbs rock center back and forth until it snaps out. |
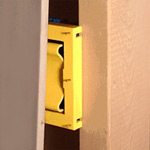 |
2 |
Position sheet of drywall in the precise location for installation in front of the outlet/switch boxes with HandyMark. |
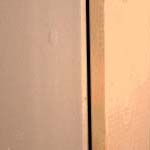 |
3 |
Press the sheet firmly against HandyMark to mark the exact location of the outlet box on the back of the sheet. After marking is complete, remove HandyMark from the outlet/switch box. |
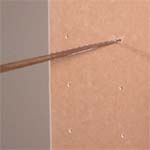 |
4 |
Simply swing out the end of the sheet just marked to get to the marks on the backside, cut horizontally first, connecting the top two marks. Repeat the same procedure for the bottom two marks and then cut vertically along both sides.
IMPORTANT: For best results apply pressure on the backstroke in order to achieve a clean edge on the front side.
|
 |
5 |
Install the sheet with a close fit around the outlet/switch box! |
NOTE: For double gang boxes place HandyMark on one end, mark, remove, place on the other end, then mark again. For triple gang boxes or larger, place a HandyMark on each end of the box and mark the entire location simultaneously.
|